|
|
|
|
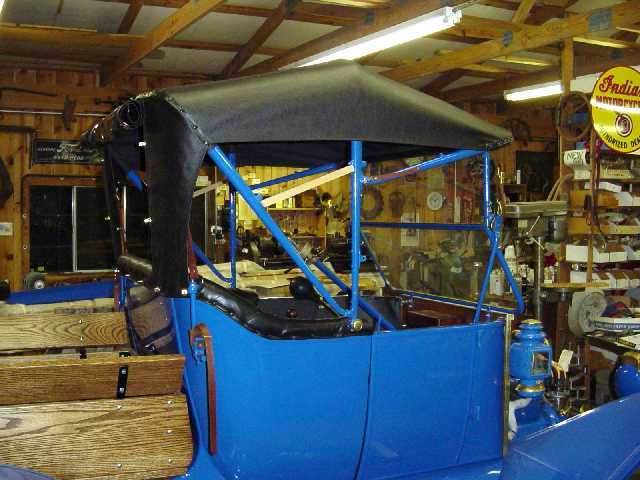
The following was learned during Fred Houston's recent installation of an early roadster top. Top bows - Most dealers use 48 inch id, 50 inch od. It was a smidge narrow for the 13 Roadster, but I used it anyway. The primary concern is that the top maker makes the top panel for a 50 od bow. Also, Ford apparently intended the top rear panel completely cover all the way from top rest iron on one side to the top rest iron on the other side. I will print a couple pages of info from Ford to substantiate this. Judging from the many examples I see on the road, most of the folks who make top kits don't understand this.
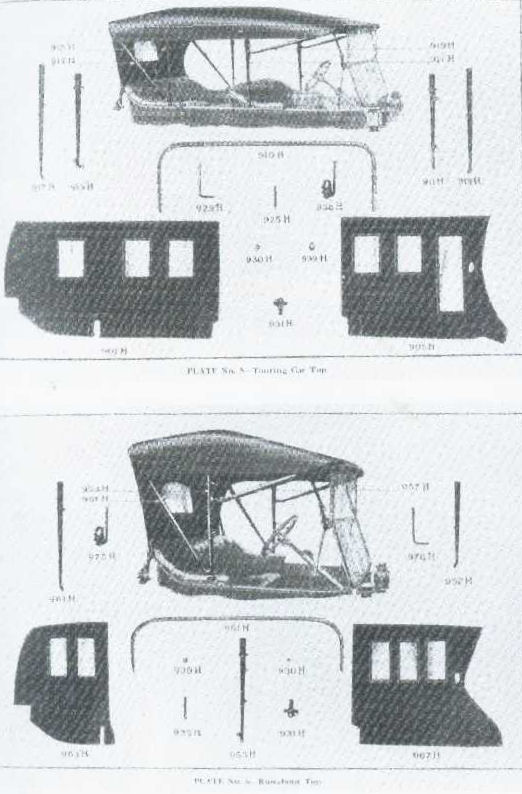
Next, I will print page (left diagram) 192 from Bruce McCalley's "Car that changed the World". From the Ford parts Book showing all the parts for the early tops and side curtains. The
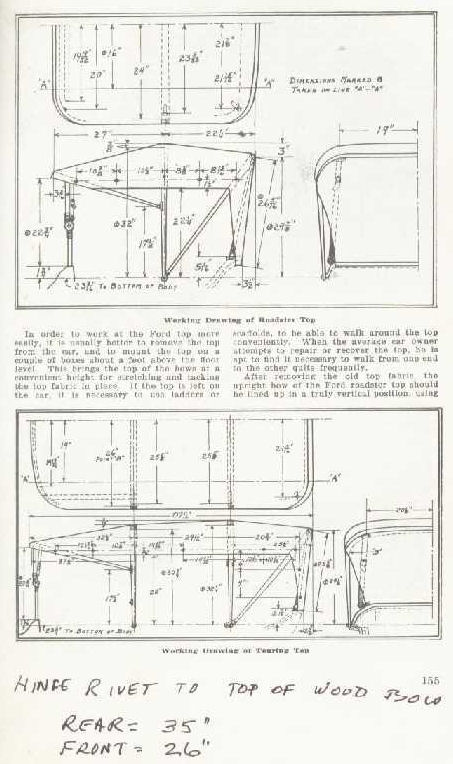
right diagram is even more important. This page you cannot do without if you're doing a two man top. All the measurements! Plus a couple that I've added that are pretty important. This is page 155 from "The Model T FordOwner" Book by our friend Murray Fahnestock. Murray sure made our lives much easier. Thank You Murray.
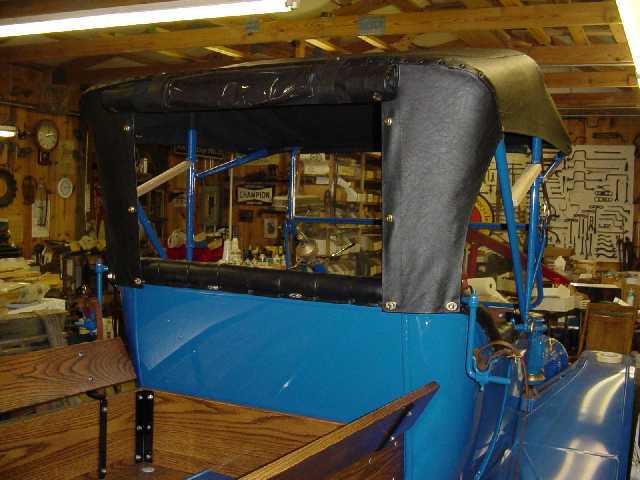
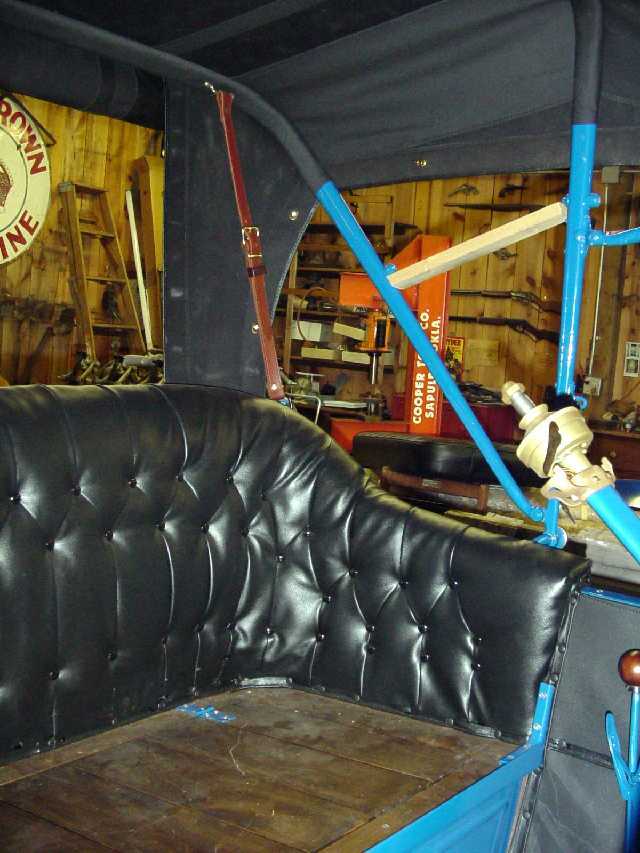
The thing you always notice on a top. Smooth sides. Take a look at the smooth sides of this JV Group top.
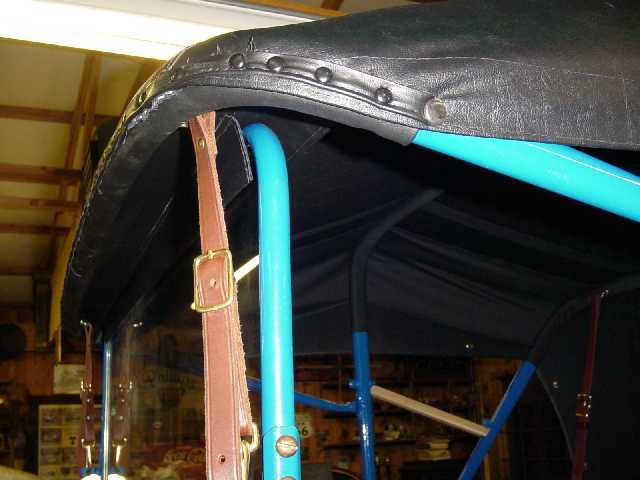
One thing I really liked about the JV Group top was the manner they addressed the seal between the top and the windshield. Take a look at this. I've never seen a better solution on the early tops. This is a very snug and tight seal. Worse case snaps could be added.
I should have described that seal a bit. The seal is tacked to the top of the bow and has a sewn on flap which rests against the windshield.
John Regan Commented: One thing I found at the archives that is lost in the repro wood bow sets is that the front bow has different radius at the corners than the center and rear bows which are the same as each other. On the Touring car the front is also different than the other 3. The radius is longer on the front bow while the overall width is the same for all bows. I don't recall the exact measurement but I realized it has a lot to do with the top curving correctly at the front because the front bow is setting at such an angle from the other 2 that if all the bows have the same radius at the corner, the curve at the sides will not match front to side as well. Think about it. The front bow is curving back almost as much as it is curving down while the others are mostly curving down. |